
Video Walkthrough
Please follow along with the video walkthrough below, explaining the steps required for the installation and prerequisites when configuring your WordPress website to send emails using any Microsoft 365 (Shared) Mailbox.
Please make sure you have read the prerequisites listed below the video before getting started.
Prerequisites
- Make sure that you deactivate all other WordPress plugins capable of sending WordPress emails e.g. WP Mail SMTP and Mail Integration for Office 365 / Outlook.
- You are a Global Administrator for your company’s Microsoft 365 tenant / Azure AD directory or have at least sufficient privileges to register a new application in Azure Active Directory.
- You are an Administrator for your WordPress website.
- You understand the requirement concerning the required account type (see the first blue info-box below).
- Your Exchange Online tenant is older than 90 days (see the second blue info-box below).
- If you already registered an application (created an App registration) in Azure AD for your WordPress website (e.g. to enable Microsoft based Single Sign-on or Azure AD User synchronization), then you only need to Configure API Permissions before you continue and Send a test email.
- Sending WordPress emails using delegated permissions is currently your best option, unless you have a requirement to send WordPress emails from more than one email address. Please refer to this guide to configure the plugin to send emails using application-level permissions.

Required account type
To successfully submit email messages to Microsoft Graph, you must have one of the following two user mail accounts.
User account with a valid Microsoft Exchange Online license
To submit email messages to Microsoft Graph, a user must have an Exchange Online license. This requirement also applies if you want to send emails from a Shared Mailbox, which itself does not require a license. In such cases, the user authorized to submit emails to Microsoft Graph must have permissions to send as or on behalf of the Shared Mailbox.
Personal Microsoft account with mailbox e.g. outlook.com or hotmail.com
Alternatively, you can authorize a personal Microsoft account with a mailbox, such as outlook.com or hotmail.com. However, please note that you cannot assign permissions to personal Microsoft accounts to send emails from a Shared Mailbox in Exchange Online.
Important info (for new Microsoft 365 subscriptions)
If you purchased your Microsoft 365 subscription less than 90 days ago, or if you are still in your trial period and have not paid for your subscription yet, then please continue reading.
Exchange Online assigns a ranking to clients that would like to send emails. Subscriptions that are less than 90 days old, have not yet a ranking that allows them to send emails outside of the own organization. Therefore administrators may experience the following behavior. After configuring the WPO365 Microsoft Graph Mailer and sending a test email to an email address outside of the own organization, the plugin reports back that the email was submitted successfully. However, in reality, that email failed to deliver.
To work-around this, administrators can contact Microsoft Support e.g. via https://admin.microsoft.com/ > Show All > Support > Help & support and ask for this limitation to be lifted.
.
Installation
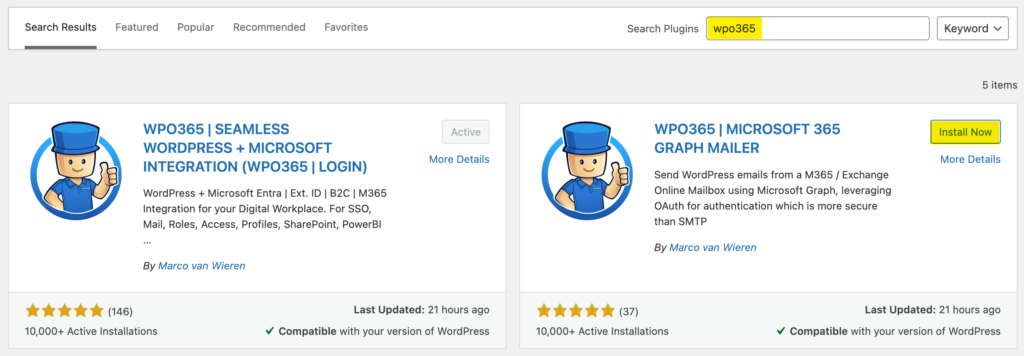
- Go to Plugins in the WordPress admin menu.
- Click Add Plugin.
- In the search field, enter WPO365.
- From the search results, locatl the WPO365 | MICROSOFT GRAPH MAILER plugin.
- Click Install Now.
- Once the installation is complete, click Activate.
Explore the WPO365 Dashboard
- To start configuring the plugin, open the WPO365 configuration in one of the following ways:
- Click the Configuration link on the Installed Plugins page.
- Click WPO365 in the WordPress admin menu.
- Once the configuration pages load, you’ll land on the Dashboard page.
- The dashboard provides an overview of:
- The default mail feature, which is enabled by default.
- A set of premium features that are not yet enabled.
- You can install the WPO365 | MAIL premium plugin to unlock premium features such as:
- Automatic resend on failure.
- Sending large email attachments.
- Throttling the number of emails sent per minute.
- From the dashboard, navigate to the Insights page.
- Enable Insights to start collecting data.
- Insights can show how many emails were sent successfully and how many failed, giving you a clear picture of the plugin’s performance.
- A separate video will explain the Insights feature in more detail.
- The dashboard also gives access to the WPO365 Health Messages panel.
- Since the plugin was just installed, there are no issues to report.
- Close or dismiss the panel to continue.
- With the dashboard reviewed, you’re ready to proceed with the actual configuration.