In this tutorial, you will learn how you can configure WPO365 to allow users to sign in with one of multiple Identity Providers (IdPs).

If you instead want WPO365 to “read” the (OIDC or SAML based) Single Sign-on (and / or Microsoft Graph Mailer) portion of its configuration of a single IdP from your website’s wp-config.php file, then please refer to this tutorial.
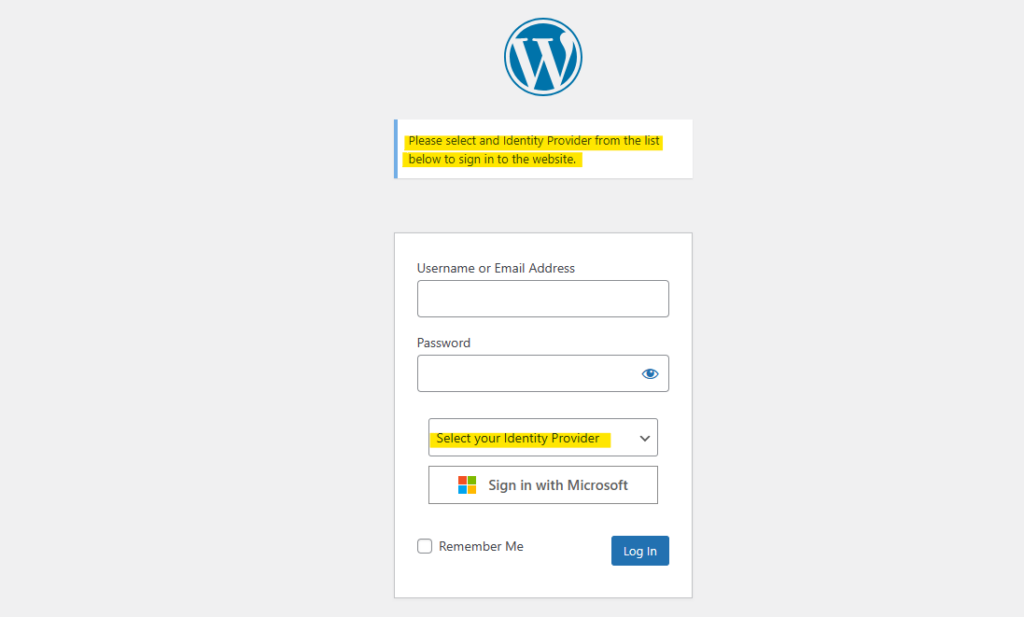
Once you have configured multiple IdPs, users must select the IdP of their choice from a dropdown list that will be added to the default WordPress login form.

Alternatively, WPO365 can try and match the (domain portion of the) user’s email address (that the user entered into the login mask) with a list of domains that you can configure for each IdP separately.

In case of operating WPO365 in Intranet mode WPO365 will redirect users always to the login page and show a (customizable) warning that an Identity Provider must be selected prior to logging in.

To sign in with one of multiple Identity Providers should not be confused with configuring WPO365 to support Azure AD’s so-called Multi-Tenancy feature. (see this article for details). AAD’s Multi-Tenancy feature – on the one hand – enables you to allow users of any Microsoft AAD tenant to sign in to your (WordPress) application. WPO365’s support for multiple Identity Providers – on the other hand – enables you to allow users of specific Microsoft AAD tenants to sign in to your (WordPress) application (using OIDC or SAML 2.0).
Support for multiple Identity Providers (IdPs) is a premium scenario. It cannot be configured using the default WPO365 configuration pages. Instead, you must configure WPO365 so that it can “read” the configuration of multiple IdPs from the WordPress website’s wp-config.php file.

Please note that you can also configure WPO365 to “read” all of its configuration (but without the IdP related variables) from your website’s wp-config.php file.

