
Video Walkthrough
Please follow along with the video walkthrough below, explaining the steps required to configure ID token claims when adding Microsoft (Entra ID) login to WordPress using the OpenID Connect protocol.
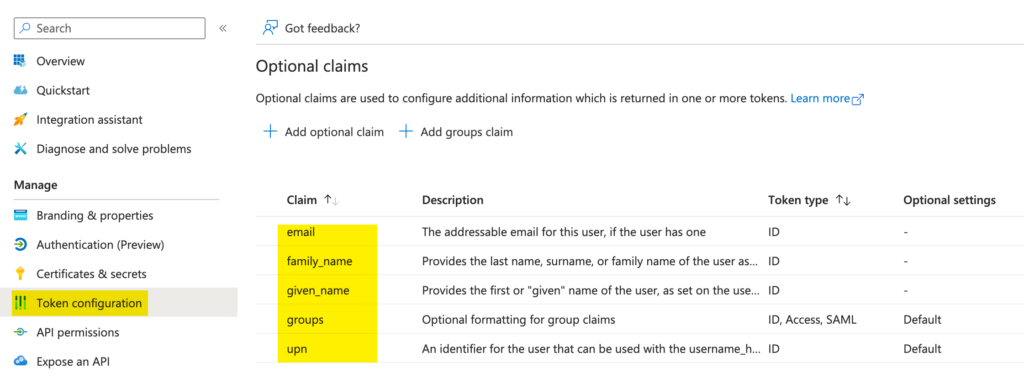
Update the ID token configuration
- Navigate to the Token configuration of your app registration.
- Understand that the ID token is the authentication response returned after a user successfully signs in with Microsoft.
- Configure the ID token to include the following optional claims:
- given_name
- family_name
- upn – the user principal name of the user’s Microsoft Entra ID / Microsoft 365 account
- Click Add optional claims and select the required claims for the ID token.

If you are asked to add the email and profile permissions required for these fields to be sent in the ID Token, then confirm by clicking yes.
- (Optional) Add a groups claim:
- Choose to include all group IDs for the groups the user is a member of.
- These group IDs will then be included in the ID token returned during sign‑in.
Adding the Groups claim to the ID token is only necessary if you intend to set up site or page access restrictions based on Entra Groups, or WordPress role assignments, without wanting WPO365 to query Microsoft Graph for the user’s Entra Group memberships.