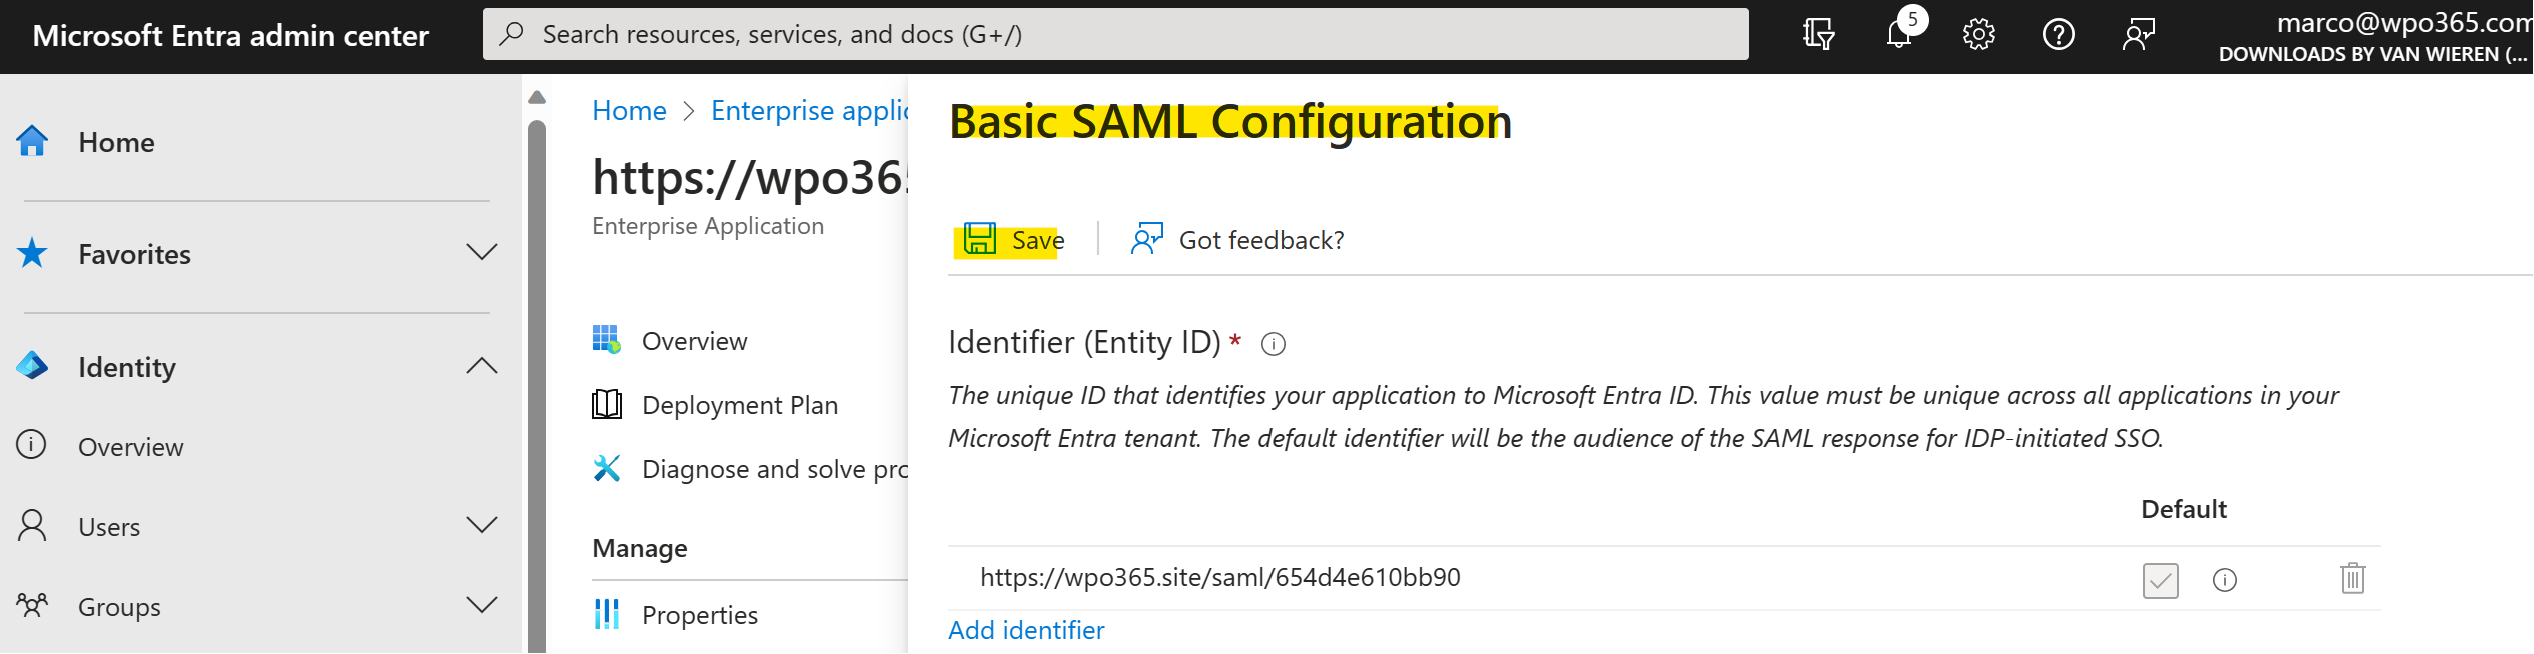
The Basic SAML Configuration section defines the so-called Service Provider (SP) that wants to connect to the Identity Provider (IdP) so it can benefit from single sign-on. In this case your WordPress website is that Service Provider and it wants to connect to Azure Active Directory Identity Provider.
Perform the following steps to automatically configure the SAML Service Provider (SP) portion of the Enterprise application.
- Leave the Enterprise application that you created and configured open in one browser tab.
- Start a new browser tab and navigate to WP Admin > WPO365 > Single sign-on.
- If not yet enabled, then toggle Single Sign-on enabled.
- Select Azure AD (default) as the Identity Provider (IdP).
- Select SAML 2.0 as the SSO-Protocol.
- Check whether the proposed SP – Base URL corresponds to your WordPress website’s home address URL.
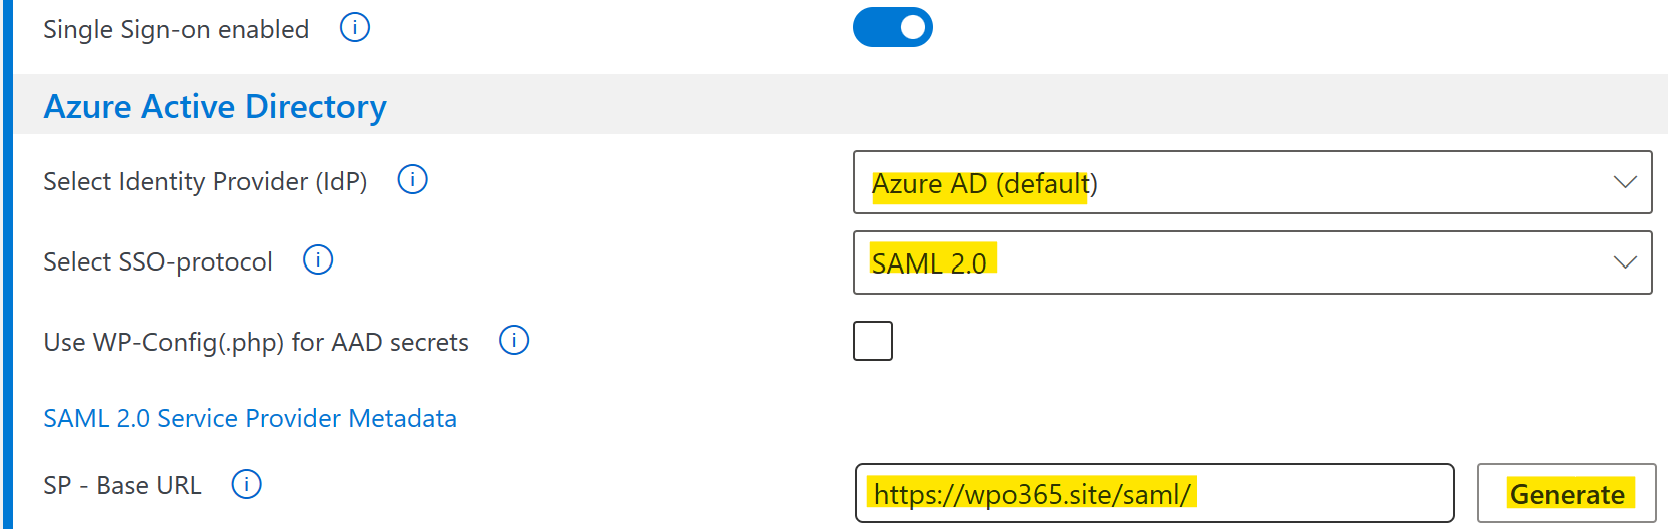

Please note The address https://wpo365.site/saml/ used throughout this tutorial is an example and in your case the URL will be a different one.
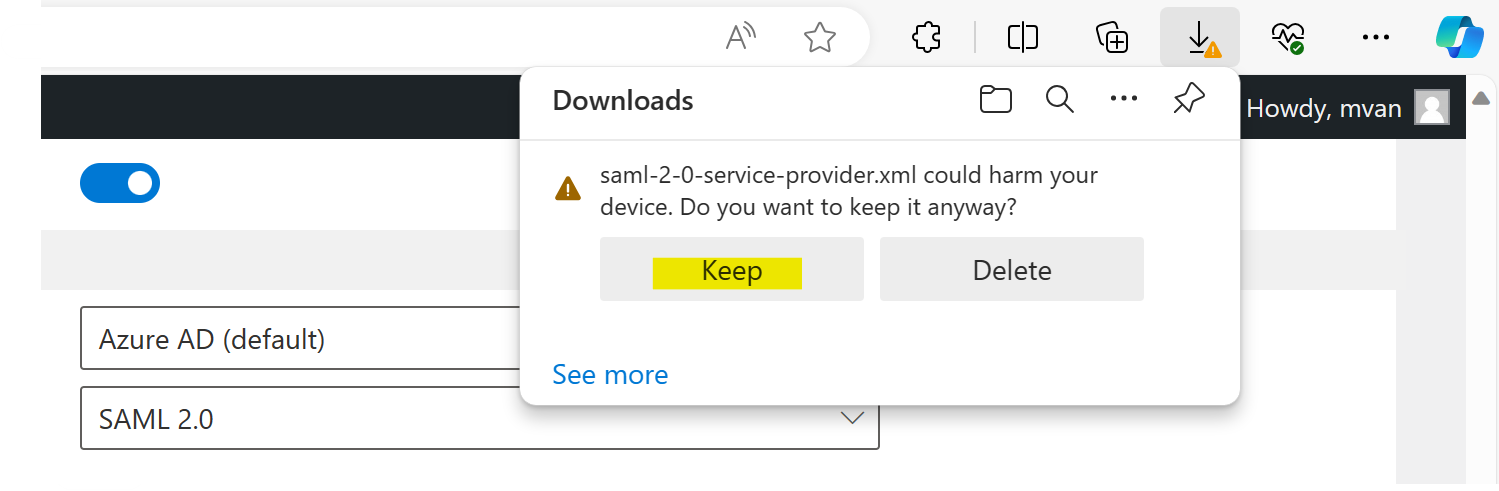
- Now click to Generate the Service Provider metadata. Your browser will start the download of an XML file. If asked whether you want to keep or delete the file, select Keep and Save the file to your local computer.
- At the same time all fields in the section SAML 2.0 Service Provider Metadata have been generated with their proposed values.
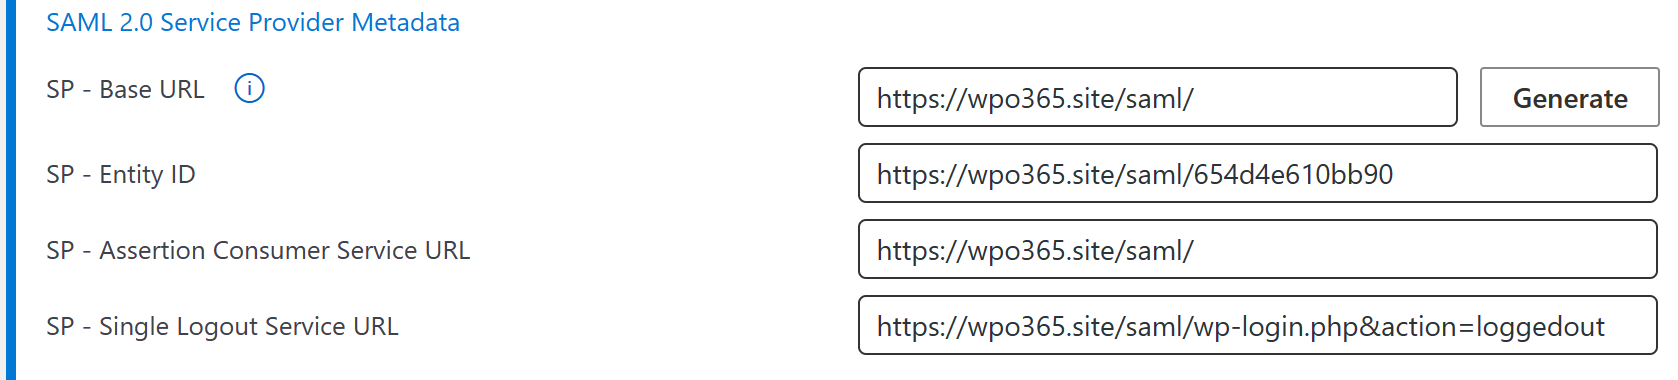
Please note You can update any of the generated values as you see fit. Just make sure to generate a new Service Provider metadata file and replace any older version.
- Switch back to the browser tab with the Enterprise application still open.

- Click Upload metadata file, select the XML file that you generated in the previous step and finally upload it. A panel will open showing the Basic SAML Configuration.
- Click Save to keep it.
- Finally click X to close the panel.